Showing posts with label garage. Show all posts

Bed Motor Cover

I finally removed the cover from beneath the bed in order to free up more space. 


I used a piece of the bed cover to shield the motor.


I also added some hardwired LED strips to the underside of the bed for proper lighting, since the 2018 Revel didn't have any.


I also added the Bed Head Bumper from CAVans to soften the blow.


2023 July

Door Organizer

This product from Canyon Adventure Vans ("The Doorganizer") works well on the rear doors for small items. It was an easy 15-minute installation, and is handy for items that I frequently need from the rear of the van.


7-June-2022

Clothing Storage

After spending a year or so with RB Components' Fabric Stuff Bags 24 x 10" Deep, we've supplemented them with a new set, the Fabric Two Compartment Stuff Bag 38 x 10". I mounted them in the passenger side flare where they'll be easily accessible when the bed is either up or down, using the screws that RB components provided.


2-Feb-2022

Bed Rail Caps

The bottoms of the bed rails are sharp and painful and prone to scraping your leg or hand. After doing this three times, I decided to do something about it.


Someone in the Revel group found these square rubber caps  (https://www.amazon.com/gp/product/B07MKSGV7K/) that are the perfect size for covering the bottoms of the rails. I had to loosen two screws to slip them on, then tightened them back down after the caps were in place.  No more scrapes!


24-July-2021

Storage Pocket

We needed another small storage pocket in the bedroom for storing glasses, chapstick, etc, and were happy to find this this handy unit from Amazon. It clears the bed when it raises & lowers. I just used some double-sided VHB tape, and it holds perfectly.


13-Oct-2020

Storage Bags in the Rear Wheel Wells

If you have a 2018-20 Revel, and if you're *not* doing a GLSS from Canyon Adventure Vans, then you have unusually-shaped rear wheel wells in the garage area. I've searched a long time for a better way to use the space in these rear wheel wells, so I was very glad to finally find these Jeep storage bags that fit that space almost perfectly. (Note that there is a driver's side bag and a passenger's side bag, and they differ slightly from each other.)


In order to mount the driver's side bag, I considered using expansion nuts, but found these machine screws to have a very firm hold in the plastic, and simply capped them with large black washers, shown below.


I anchored the lower right corner (red circle) first, then applied 3 more screws & washers along the lower rear seam (blue line). Then I pulled the bag up so that it was vertically taut, and applied 4 more screws & washers along the top (green line). 


At this point, the bag was very firmly attached to the van, and I stopped there. Looking into the bag without the velcro dividers installed, it looked like this:


The bag measurements are these, yielding 1850 cubic inches of storage in a padded, zippered bag.

To my great surprise, I am able to put the entire contents of my emergency supplies and water replenishment totes into this bag, freeing up the space on the garage floor for other gear. Everything in the following photo fits in this bag.


I'm keeping it zippered shut, and will continue using my cargo net over this space for eventualities.


UPDATE: I realized that if I turn one of these bags on end, it provides a good fit in the remaining space in the wheel well. I've loaded it up with shoes & boots, and will give it a try on our next road trip. That awkwardly-shaped space is really starting to get utilized efficiently...


20-Oct-2020


Rear Door Storage

I'm trying to optimize storage in the van, and decided to use the rear doors for storing several flat, bulky items that are always with us on the road. 

The first, a small folding table, was hung on the rear passenger door using Mini Quick Fist clamps and a bungee cord. Each clamp is capable of holding 25 lbs, so I could have gotten away with just a single clamp, but I used two for lateral stability (swinging). Placement was a little tricky because I needed to maintain access to the interior handle, resulting in unfortunate clamp mounting points on the door panels. (I tested the screws in the plastic, and feel comfortable that expansion nuts (well nuts) don't seem necessary here.)


I used black 2-hole D-rings for the bungee cord mounting points.


I also mounted an outdoor privacy tent on the rear driver's side door. This was the simplest possible design that I could think of which did not include hanging. Once again, I used the black D-rings for the bungee mounting points, along with these perfectly-sized bungee cords.


19-Oct-2020

Soft Storage Bags

We needed a bit more soft storage in the van for things like extra blankets, laundry, etc, so we got a couple of these bags (Fabric Stuff Bags 24 x 10 Deep) from RB Components. I thought about using expansion nuts to hang them, but the screws that RB shipped turned out to be just fine in the plastic walls of the Revel. They mostly clear the bed, but do get compressed/squeezed when the bed is raised all the way. The bags seems well-made and durable, with solid grommets at all the connection points.


17-October-2020

Light Replacement with USB Ports

We don't need both of the puck lights in the bed area (we rarely use them at all), but we do need to charge our devices there with USB ports. I decided to remove one of the puck lights and replace it with a dual USB port. It was a trivial replacement - - just snip two wires, attach two new female spade connectors, and it's done.


12-October-2020

Daytripping vs. Roadtripping

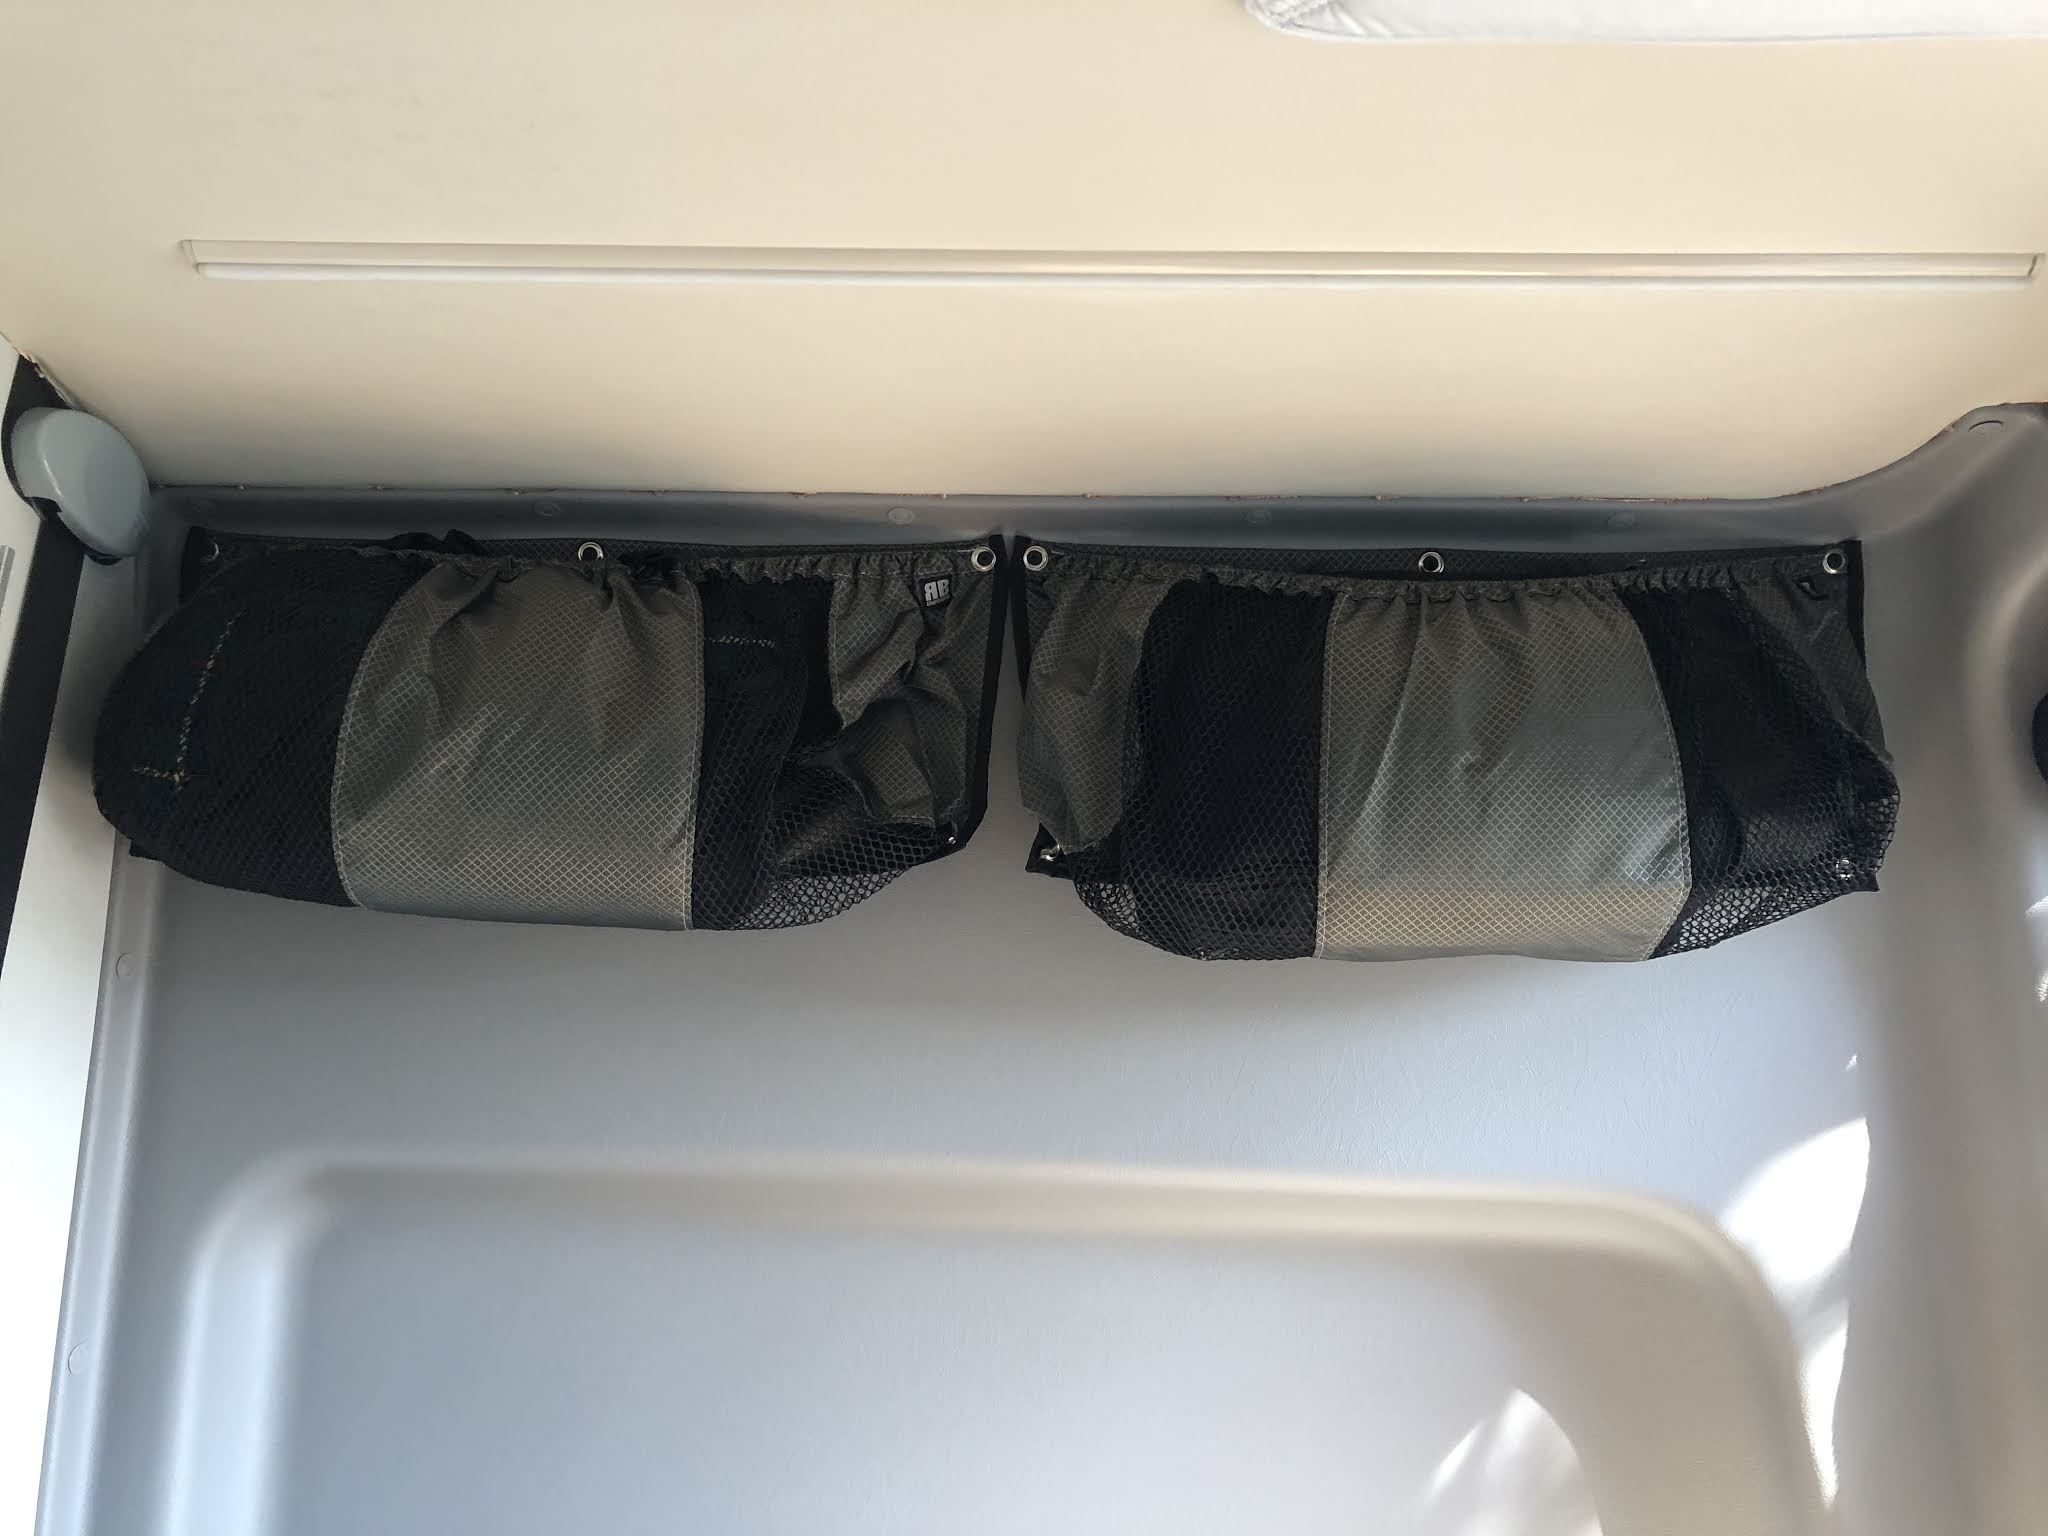
The Covid pandemic has us using our van a bit differently for the past four months, and it's caused us to make some changes to how we organize our van. Rather than taking long road trips, overnighting with a lot of gear, we're mostly doing day trips, not taking much gear at all, and using the garage differently.

This is our normal roadtripping mode, with all the gear that we need for weeks at a time, organized and labeled in totes.

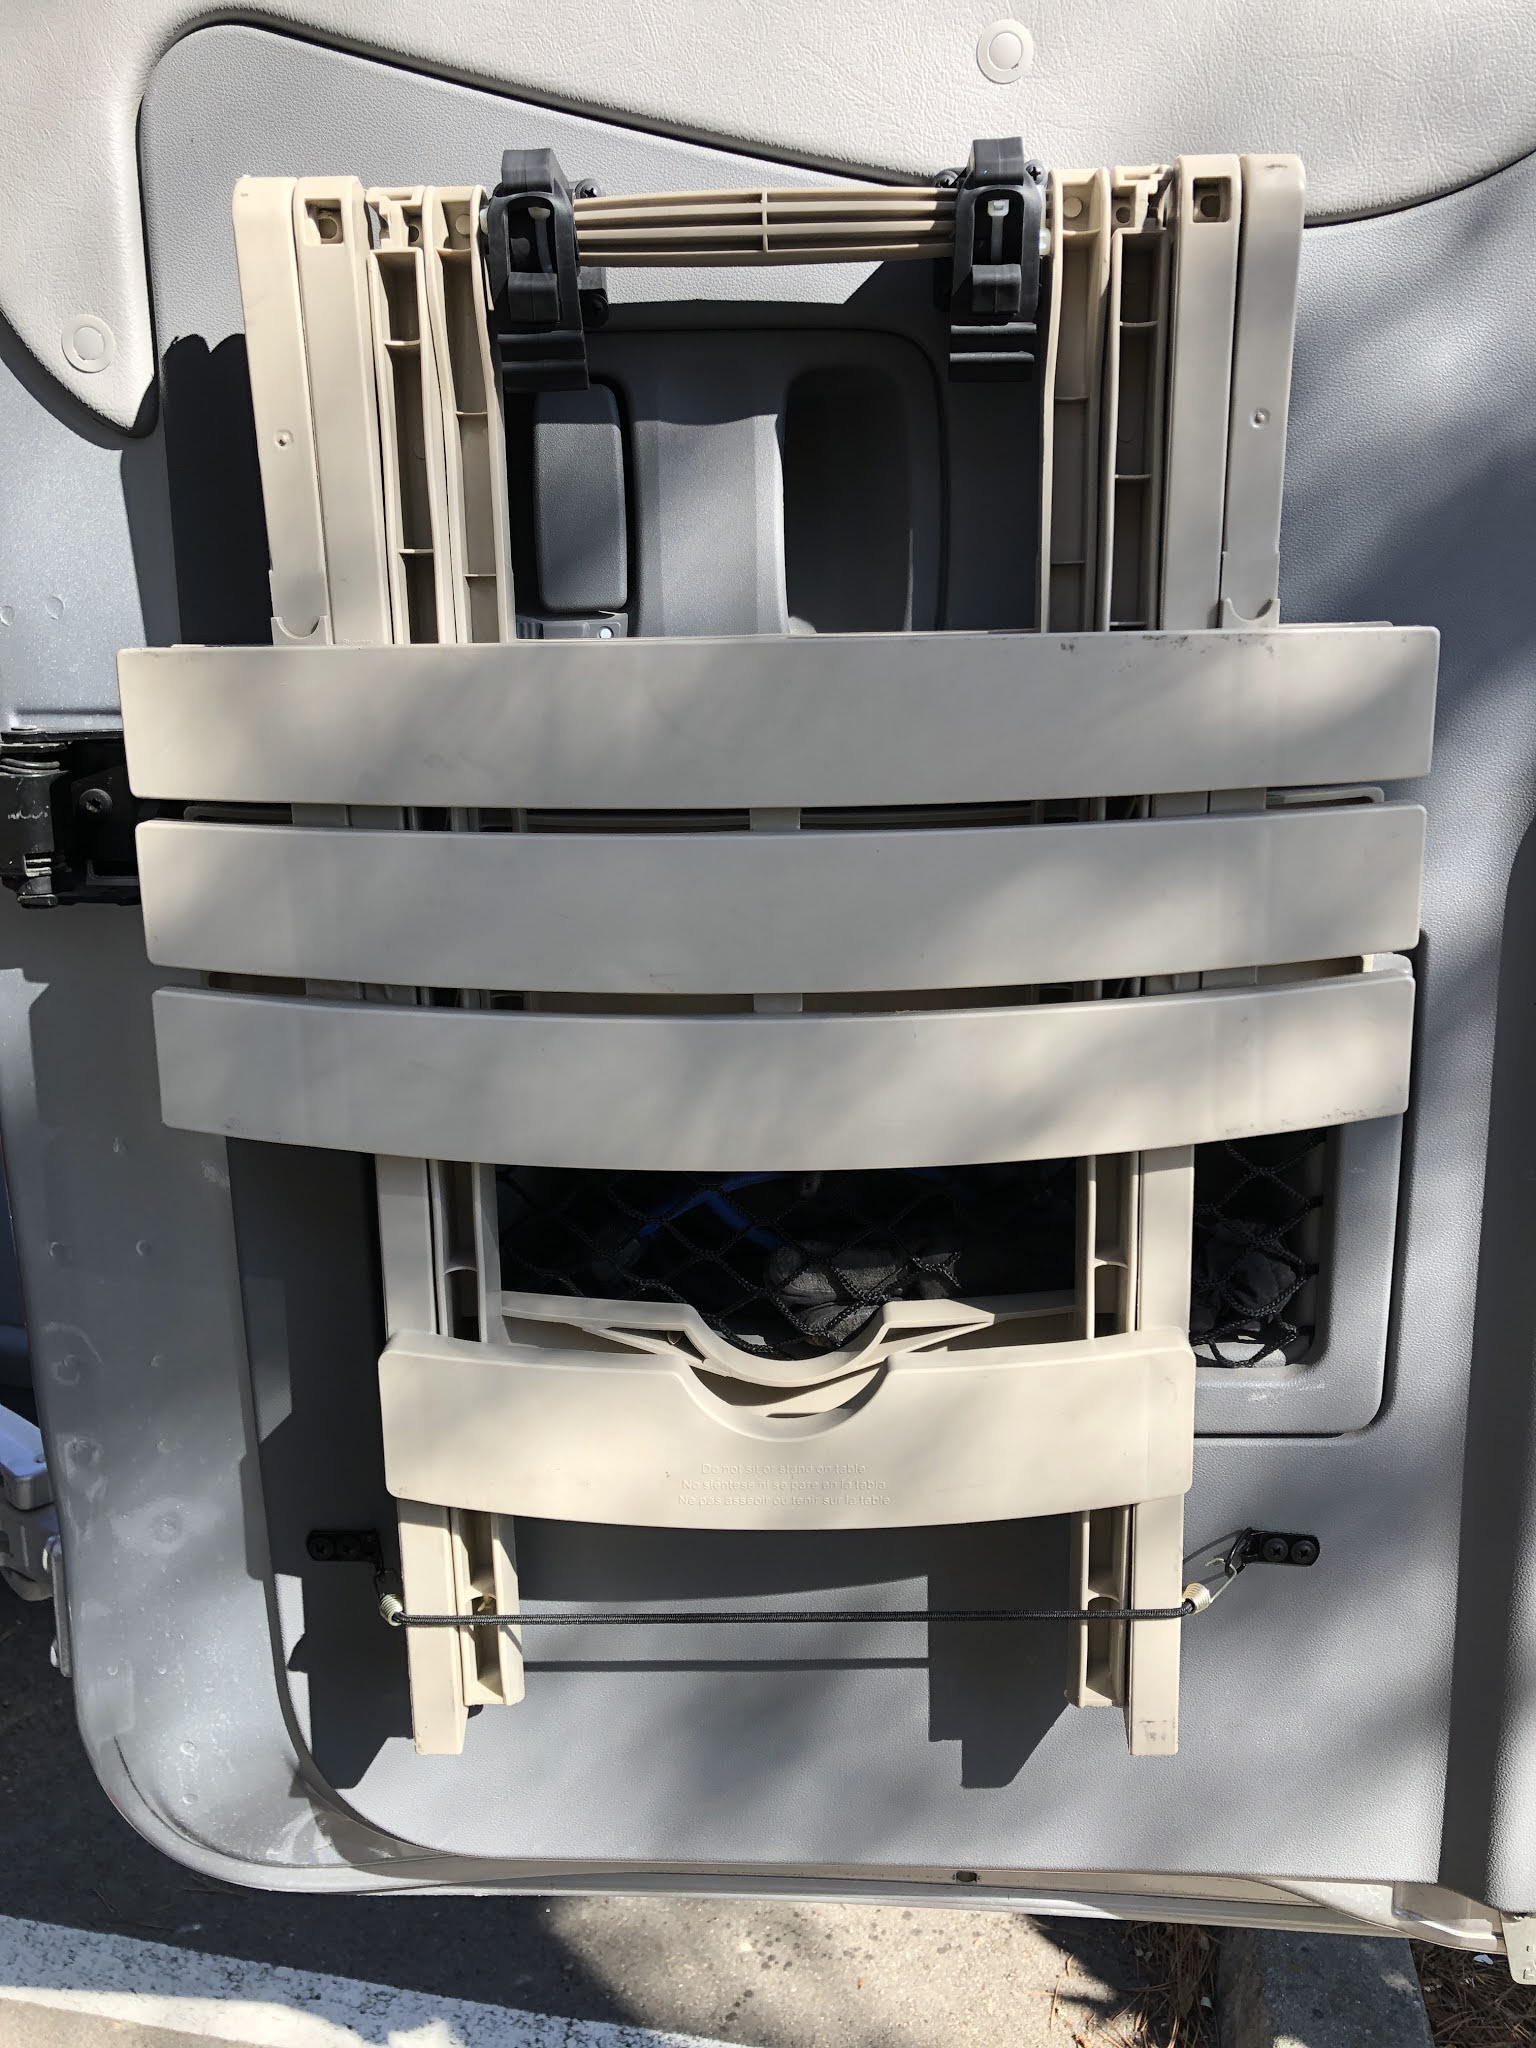
We don't need most of that gear (water replenishment, tools, many changes of footwear, campfire materials) when we're on a day trip to the beach or mountains, so I pulled almost all of that gear out of the van. Taking a cue from the fabulous Canyon Adventure Vans' GLSS, I replaced it with a couple of comfortable folding chairs and a camping table, giving us the daytripping configuration shown below. This gives us another 'room' to dine in, watch the whales out the back, whatever. 

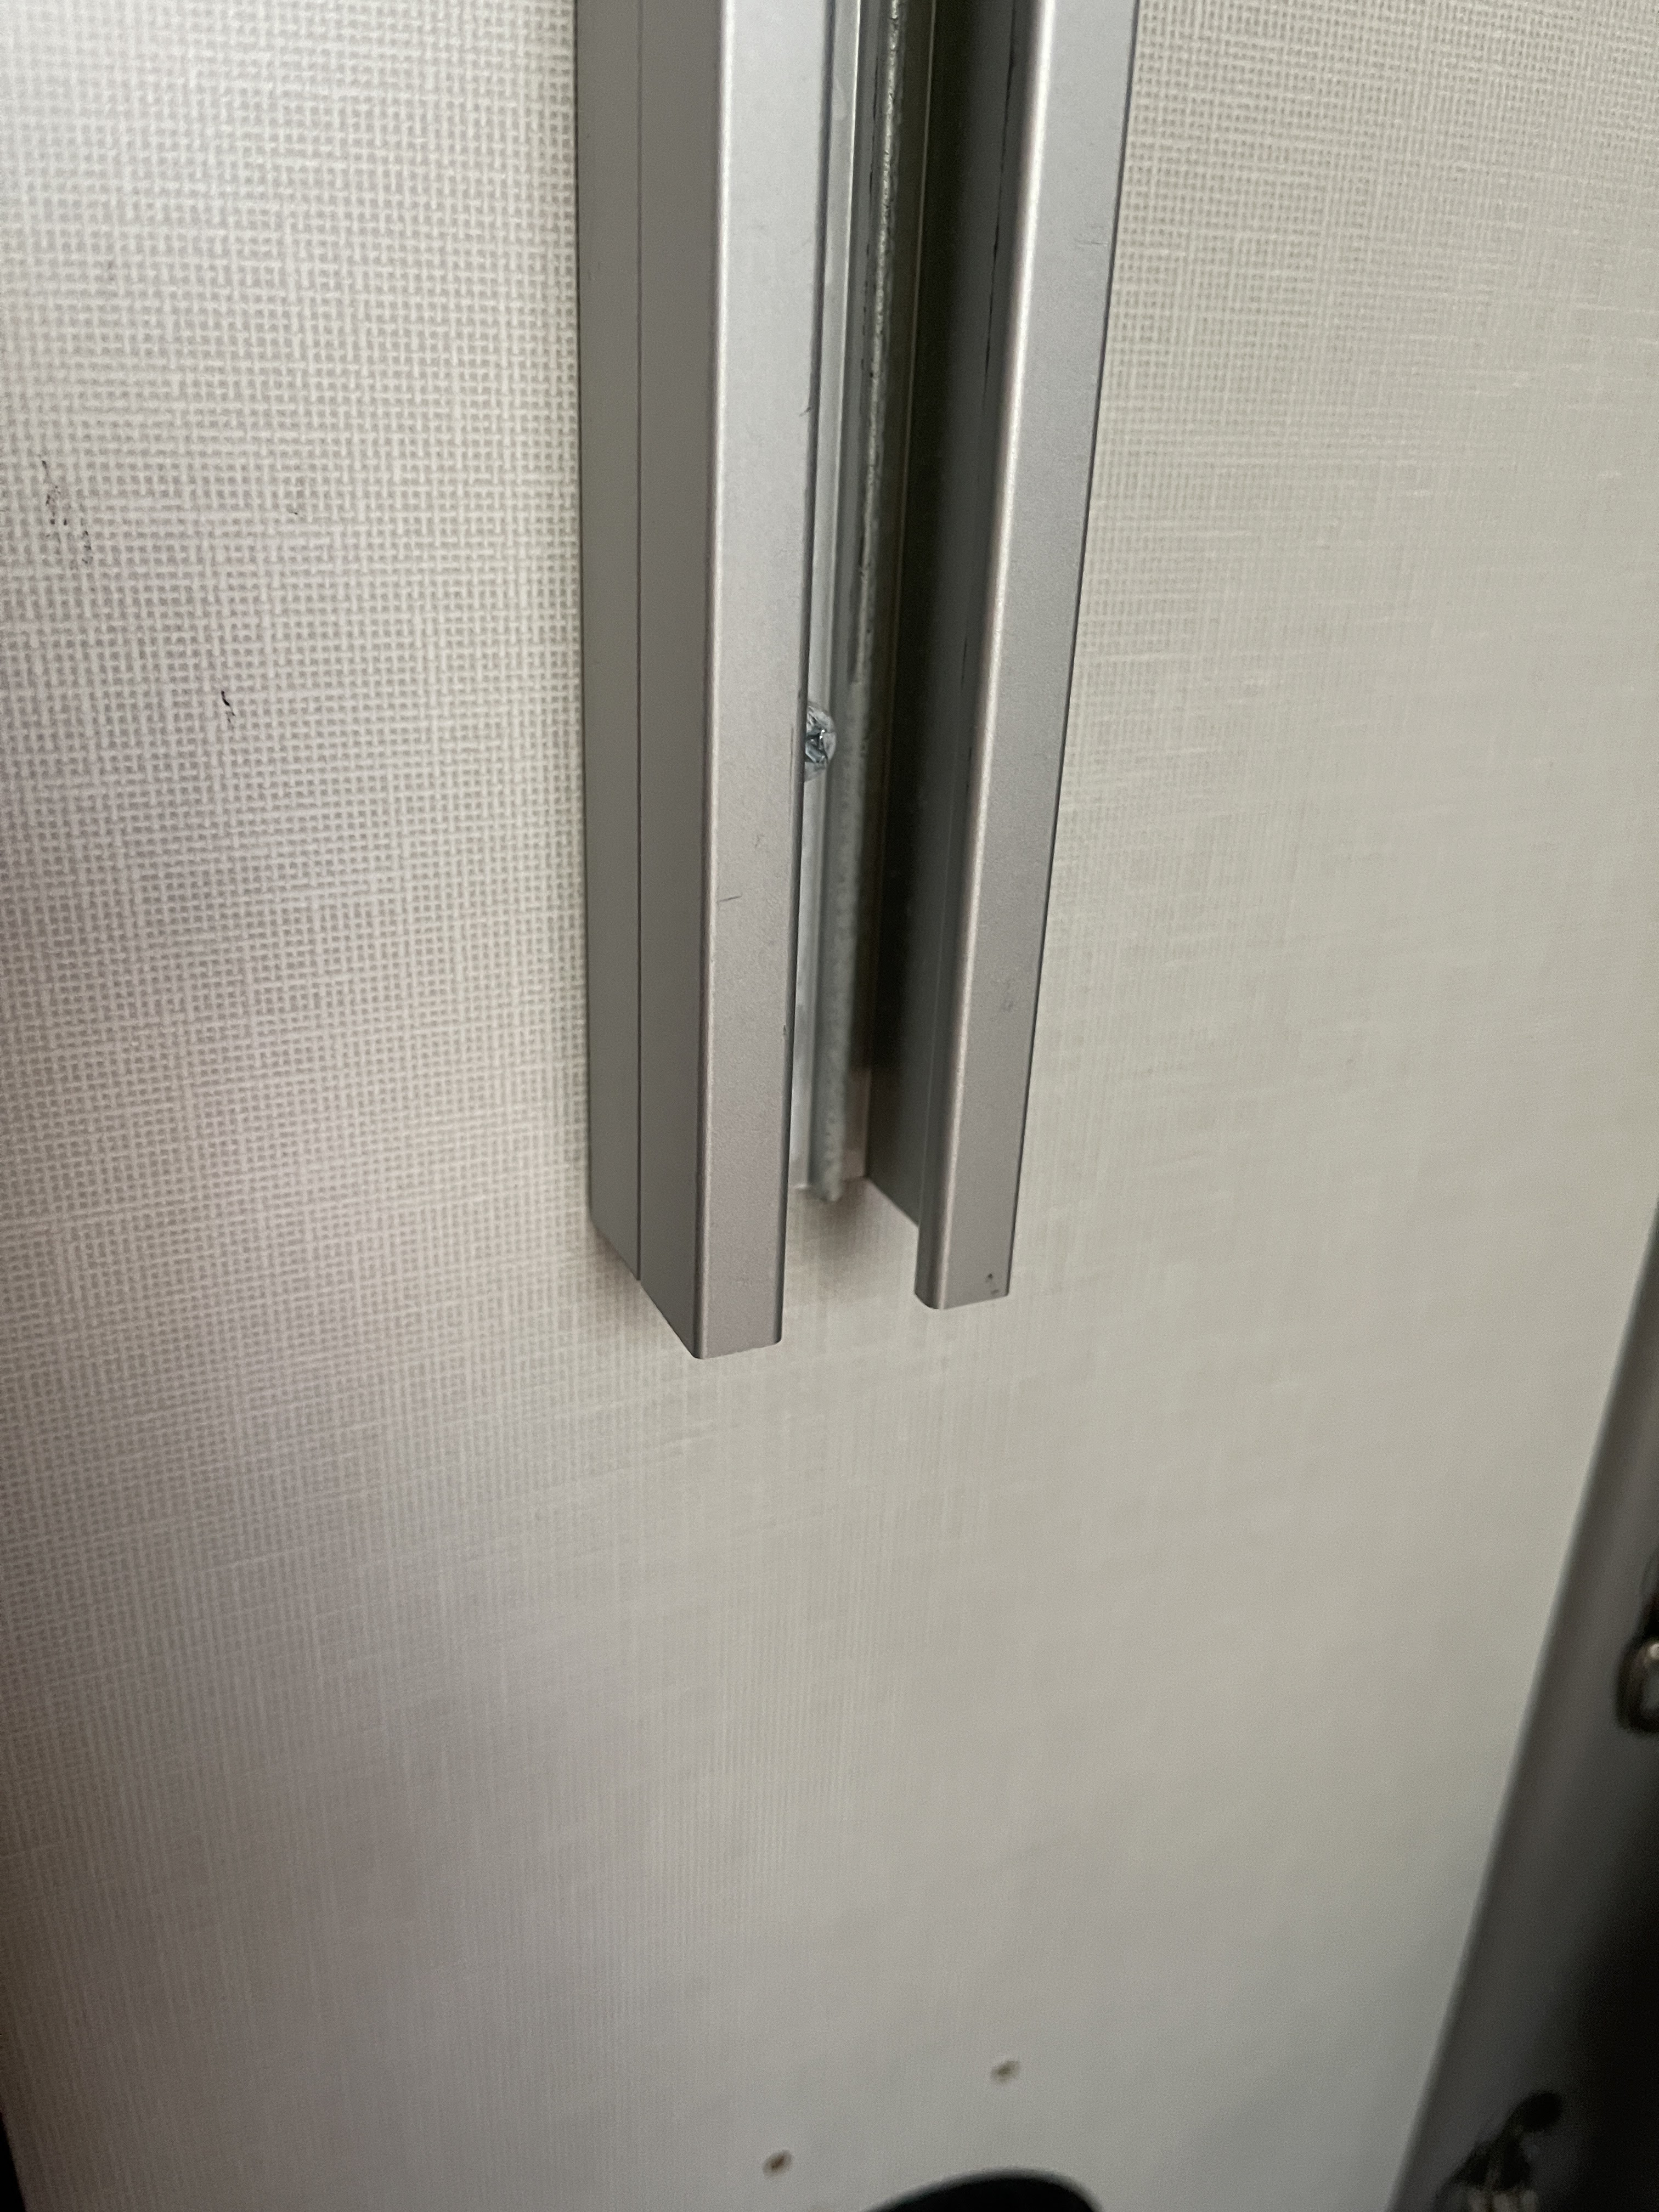
However, if you're in a place where you need to use the insect screens, and you have the excellent Rolef screens on your van, then your view is blocked because the lower panel of the screen is opaque. Bummer, dude.

So I used one of the old-school Revel screens from model years 2018-19 to give us floor-to-ceiling views. This works great, and we love the screened-in porch vibe.

It was a little tricky to attach the Winnebago screen to the Rolef screen, and I had to make some stuff. Here's what I did...

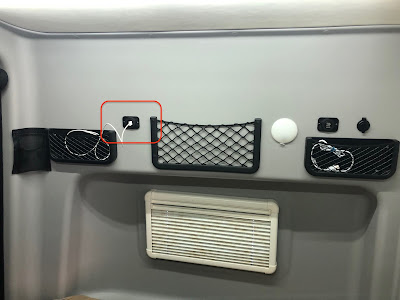
I wasn't going to uninstall the Rolef screen just for day trips, so I needed a way to attach the Winnebago screen to it. Since the Winnebago screen only offered snaps for attachment, I made 'velcro snaps' to solve the problem.  I cut 1" x 1" squares of plastic by cannibalizing a Flexible Cutting Mat, then attached snaps to them. Then I attached some self-adhesive velcro squares, yielding what you see below.


Then I attached velcro squares to the Rolef screen, shown below. Works great, no bugs, floor-to-ceiling screened-in porch for the pandemic.


May-2020