Showing posts with label dinette. Show all posts

Removing the Dinette Cabinet

I needed to remove the dinette cabinet so that I could get behind the ceiling headliner. I found that it's easy to remove it, but harder to put it back up. Here's how to do it on a 2018 Revel.

After removing the inside of the cabinet ('floor' of the cabinet is a separate piece, and the back & 'ceiling' of the cabinet are a single folded piece) with regular screws, you're faced with 8 screw locations that are holding the cabinet to the ceiling and wall.  An overview photo is the following:


The 2 screws that attach to the shower wall are here.


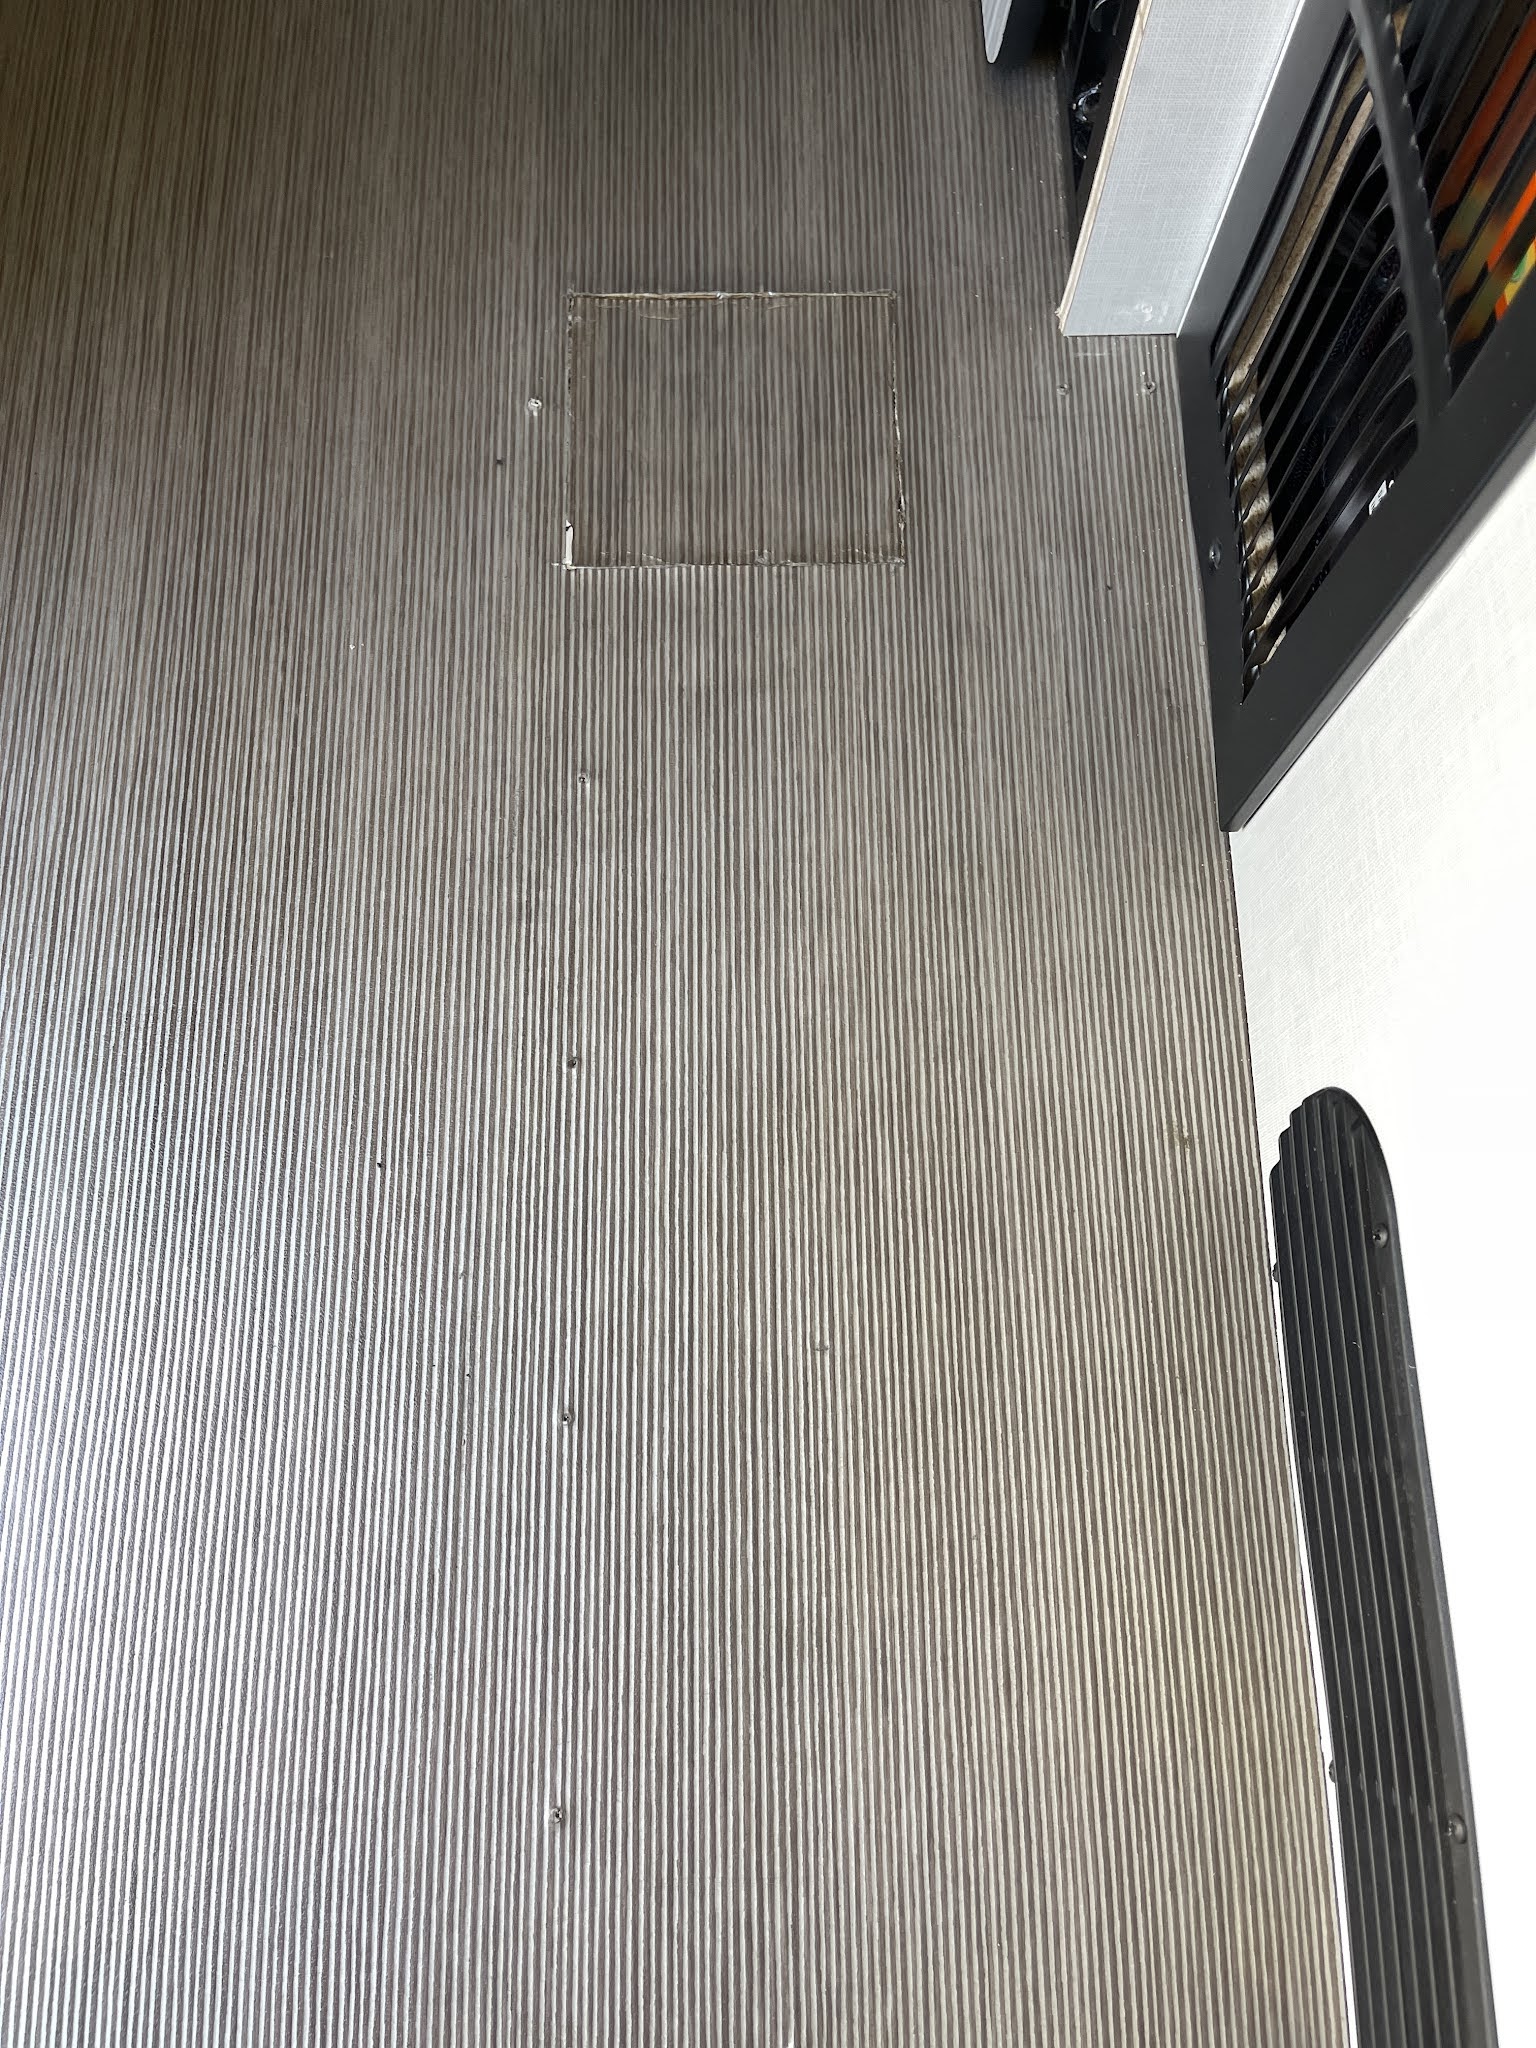
The three screws that attach to a metal bracket above the headliner ceiling are here.


Three screws attach to the driver's side wall here.


Here's where the wall screws attach through the cabinet (one of three screws shown).


Reattaching the cabinet is a good job for two people - - it's a bit tricky to lift the cabinet, get the holes lined up, and tighten it all by yourself. Make sure that you're on good terms with your helper, because you'll be swearing a fair bit. 


20-December-2021

Rotating the Dinette Bench

We never liked that the dinette bench protruded into the hallway, taking up aisle space, and making it difficult for two people to move around in the van fluidly. So after seeing someone in the Revel group rotate their dinette bench, we knew we had to do it. It's a big job, and can be pretty expensive, but it's turned out to be one of our favorite mods ever.

The work was performed by Tony & Wanda Loeza, at San Carlos German Motor Works. Tony found the job to be much easier if the electrical system has already been converted to lithium, as shown below.


We added a Lagun table, and are still working on the right tabletop. The old table is shown here for testing purposes.


One of the primary drivers for this was my wife's yoga practice. Opening up the aisle gives her much more room for her morning practice.


Keep in mind that this mod removes the seat belts, leaving a square hole in the floor from their previous mounting point. We patched it with aa piece of flooring from under the bench.


One of Tony's professional touches was to add a backboard with matching grey vinyl for supporting the back cushion.


Finally, we were extremely glad to see that our 12" subwoofer fits in the gap perfectly, like a puzzle piece.


I applied some iron-on edge banding to the wall that was trimmed, and it looks pretty close to Winnebago's fit & finish.


17-June-2021

Lithium Conversion

After 4 years with the original AGM batteries, it was becoming clear that we would need to replace them before our 5th winter. After considering our options, we decided to purchase the RoamRig system to convert our coach's power system from AGM to lithium. We started with Stage 1, and will monitor our usage for a year or so to see if we need to add more storage or charging capacity. With Stage 1, we are more than quadrupling our storage capacity, so this will allow us to use the van a bit differently than before. (Update Sept 2021: without a 2nd, dedicated alternator, our Sprinter alternator recharges our Stage 1 batteries at 9.25% per hour of driving. Solar also contributes to this in some small amount as well.)

The dinette bench is markedly cleaner, and built in a steel frame, as opposed to the wood & staples box that originally comprised it.


The new instrument panel is far superior to the hodge-podge from before. However, the items in red are inconsistent, so I'm going to fix that in the coming months.


07-May-2021

Bench Rotation and Battery Upgrade

Ralph Hill from the Revel group on Facebook has created a detailed description of rotating the bench seat and installing a new lithium system in his 2018 Revel. Download the full document here. (Link to Facebook post is here).

Well done, Ralph, and thank you!


Stable Table

Jim from San Diego improved the stability of the Revel's dinette table. Here's what he did:


Van builds may vary, but my table simply wasn’t stable enough to please me.  There’s a small bracket at the bottom that’s attached very well to the van wall and floor.  There’s a big bracket at the top that’s poorly attached.  There were only 2 medium sized screws (.190 thread dia.) holding the top bracket to the van wall and one of mine had already pulled loose. 


Next step was to remove the table assembly and watch some YouTube to find out how this thing SHOULD be attached to the van. The van metal behind the trim panels looks like the blue area below:


Decided to attach the table to the side of the van using #12 sheet metal screws.  These require .225 diameter thread clearance holes in the brackets and .125 dia pilot holes in the van. 


Drill work required on the upper bracket:


New bracket, .125 thick aluminum folded around the back of the table assembly.  Purpose of the new bracket it to pick up those 3 new van attachments AND to provide something solid for the bottom of the upper bracket (second key to solidifying the table).

This took me most of the day but “should” be a small project for anyone doing it the second time….