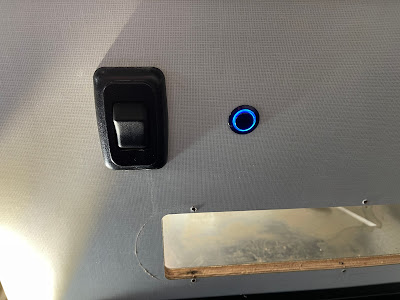
It's generally a best practice to shut off the water pump when you don't need it, because if you have a leak or a break, the pump will keep running and fill your van with water. However, the factory 'One Place' switch for the water pump is inconvenient, so we tend not to use it.
Jim Lincoln, from the Revel Facebook group, found instructions for installing a simple, lighted momentary switch in the Travato group, and he wrote up some better instructions for the installation. A simplified wiring diagram is here. I'm including all of that, along with photos from my installation.
Here are the tools and materials that you need.
The switch comes with a short harness, so I soldered about 4 feet more to each lead.
I started with the electrical work before cutting a hole in the cabinet, just in case things went south and I couldn't complete the project for some reason. Here I spliced in the leads according to the instruction guide. The extra leads in the Battery and Ground terminals are for the after market water gauge that I installed a year or so ago.
I spliced a 1 amp fuse into the power line, then covered the splice with heat shrink tubing.
I used some adhesive clips to route the wires safely behind the drawers.
I installed some bullet connectors inline to shorten the wires and give myself a quick disconnect in the future.
I used a 3/4" spade bit to drill the hole through the cabinet.
Works well, and is a lot more convenient to use.
8-March-2021


